|
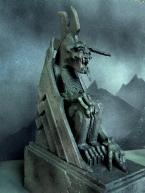
Saruman's Stronghold
The Making of Orthanc
© Lotrscenerybuilder 2010
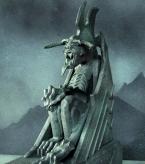
V. Mount Fang
The closer we came to the completion of the tower base, the more excited we got. We longed to see its many surfaces sprayed with black paint, thus transforming the structure into the familiar shape of Saruman's abode. And that's when we really started to worry about the pinnacle. Last thing we wanted was to scamp the modelling of the top platform with its four horns. Having our summer vacation, we were now spending eight to ten hours a day on "detailing the beast". We decided to give it a break and devote some of our time to the most striking feature of the tower.
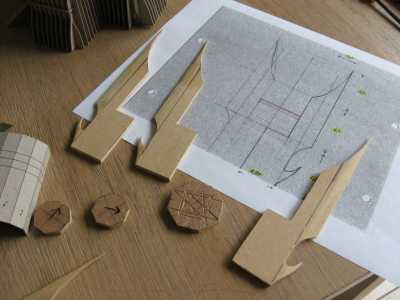
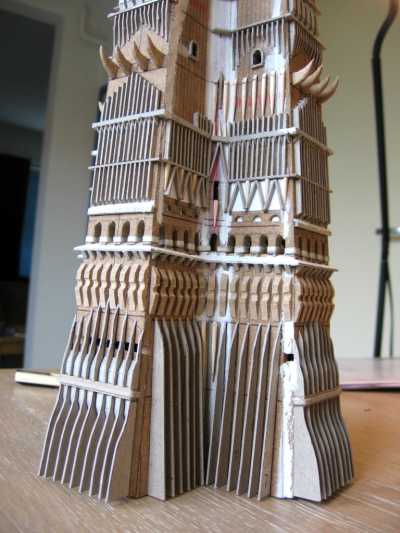
We made a sketch of the entire summit configuration and held it next to the tower to check its proportions. Once all measurements were fixed, constructing an octagonal core column out of cardboard became dead simple. A "floor of polished stone, written with strange signs", was carved from a tablet of MDF and placed on top.
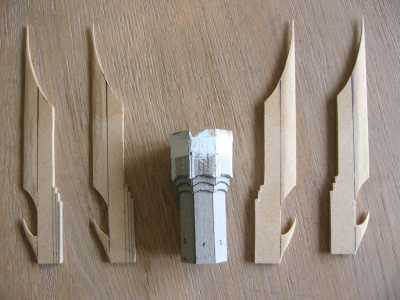
The fabrication of the four MDF horn blades, however, turned out to be a tense undertaking. First, we had to guide our fret saw carefully along the curved tracks that tapered down to a needlepoint. Next, we had to polish each blade to give it a razor-sharp edge. By the time we were finished, each blade had only a few atoms of wood left at the tip and little more at the edges. To reinforce the spikes they were coated with glue and left to dry.
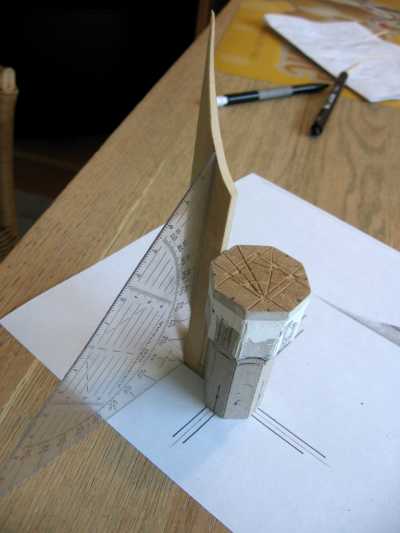
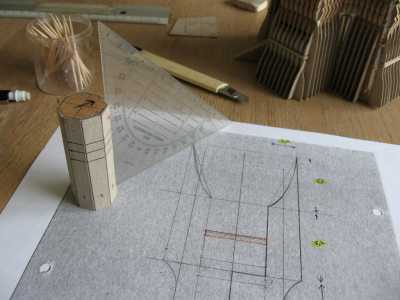
A set square helped to fix the blades perpendicular to the core column…
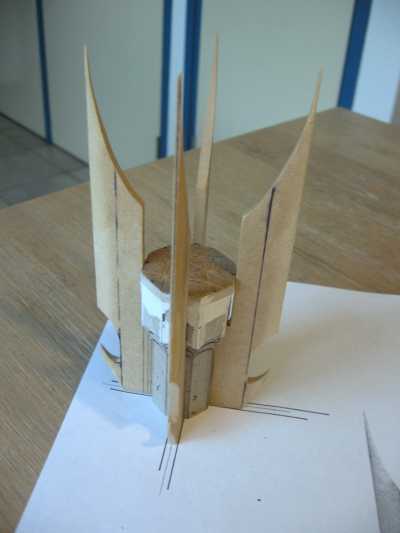
… while the arrangement to the four winds was obtained with the aid of a simple template.
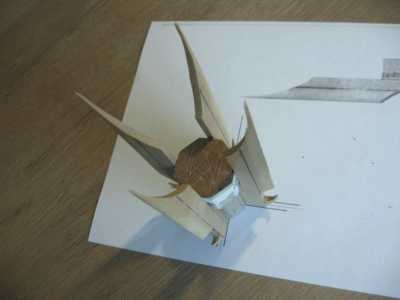
We were rewarded with a view on Saruman's rooftop as seen through the eyes of an eagle - or a moth, if you like.
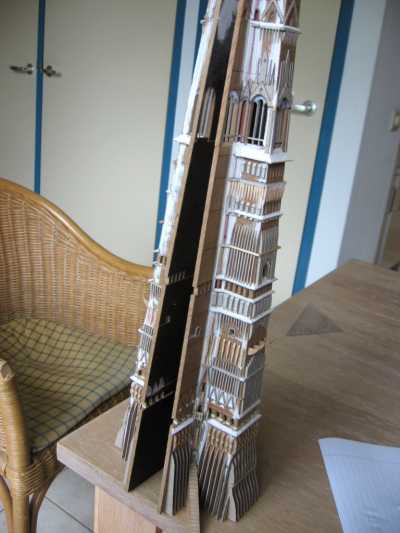
With the pinnacle bagged, we turned our attention once again to the shaft. Finally, the two remaining main faces were put into use; like Saruman, we were enraptured with the Union of the Two Towers!
But not for long. About a third of the tower's decoration was still lacking. Most of the cornice-circuits, in particular, were incomplete and closing these rings was a rather pernickety - if not boring - chore.
|